Sunday, May 5, 2013

Clara Dress Planning

So I have a confession: I'm a big fan of Doctor Who. I got started on it a couple of years ago by a friend, and now I'm hooked. I love it for all its cheesy plotlines, silly special effects, and all-around campy goodness. The characters are surprisingly well-developed and it appeals to my general anglophilia.

Imagine my delight when I found out that PEERS is hosting Doctor Who-themed ball this summer: The Doctor Dances. The ball is set in London in 1941, so either 1940s dress or Doctor Who inspired clothing is appropriate. At first I wasn't certain which direction I would go in, but after viewing the Christmas special in December, I had a clear vision: I would make one of the 1880s dresses worn by Clara, the Doctor's new companion, in The Snowmen. 1940s is not an era I have any experience in, so something Victorian would be more my speed.

At first I thought I would make the beautiful and formal day dress she wears through most of the episode, when she is working as a governess to two children:

Clara on the left — I love this dress. It's elegant and graceful, and rather historically accurate for a popular TV show!

The more I thought about it, however, the more I was worried about dancing in this dress. The long sleeves and high neck don't allow for ventilation, and the whole thing feels a bit too buttoned-up for a ballroom. Luckily, this isn't the only dress Clara wears in this episode. In the beginning of the show, she moonlights as a barmaid in this spicy red number: 


Much more suitable for dancing, no? Lower neck, shorter sleeves, and though you can't tell in this picture, the hem sits about 6" off the ground. Perfect for swirling about in a ballroom!

The dress appears to be 4 separate components: the scarlet brocade bodice, a matching draped overskirt,  a dark reddish-brown ruffled base skirt, and a red underskirt. I plan on using TV460 1885 Cuirass Bodice as my pattern for the bodice, and an assortment of diagrams in books for the skirts. I'm also knitting the shawl (there's a minor plot point involving it — it would be a shame to leave it out), and I'll wear my new American Duchess Tavistock button boots with the ensemble.

This is my first time attempting a close replica of an existing costume or gown. I'm already enjoying the process immensely. I've been researching and planning for several weeks, and I've managed to find all the necessary materials The sewing should be quick and easy — I'll post again soon once I've made some progress!


Wednesday, May 1, 2013

Gibson Girl Gown — Complete!

And now, the moment you've all been waiting for... the finished dress!

Front

Back

Bodice Closeup

Details

The shoulders — my favorite part of the dress


It's a shame the colors are so washed out in all these pictures, but I figured you would rather see the dress on me in a beautiful ballroom than on a dressform in my messy living room. 

Since you last saw the skirt, I added oodles of trimming. For the bottom flounce, I used a doubled piece of pink chiffon. I decided to make the flounce double width, then fold it in half, gathering the two edges and stitching them down as one. This approach had two advantages: I didn't have to hem yards and yards of silk chiffon, and the flounce was then more opaque. Easier and prettier at the same time!

I added a row of the beaded trim to cover the raw edges of the chiffon. I still had a bunch of the trim left over, so I decided to arrange the rest in a sort of branching cascade down the left front of the skirt. I then accented the whole thing with more roses made with the pink silk. 

Lastly I added a belt of black velvet to the bodice, in order to provide a bit more definition to the waist. 


The dress was very well received at the ball, and was a joy to dance in. The short length made it easy to move in, it didn't take up as much space on the dance floor as the mid-19th century dresses I usually wear, and the sleeveless design gave me much more range of motion than I am used to having in Victorian fashions. 

The group of ladies who inspired this project, my lovely Gibson Girls, all did a wonderful job with their dresses as well. We all had a great time! Here are a few pictures of the group:

Quite a variety of colors and styles

Showing off our shoes and petticoats

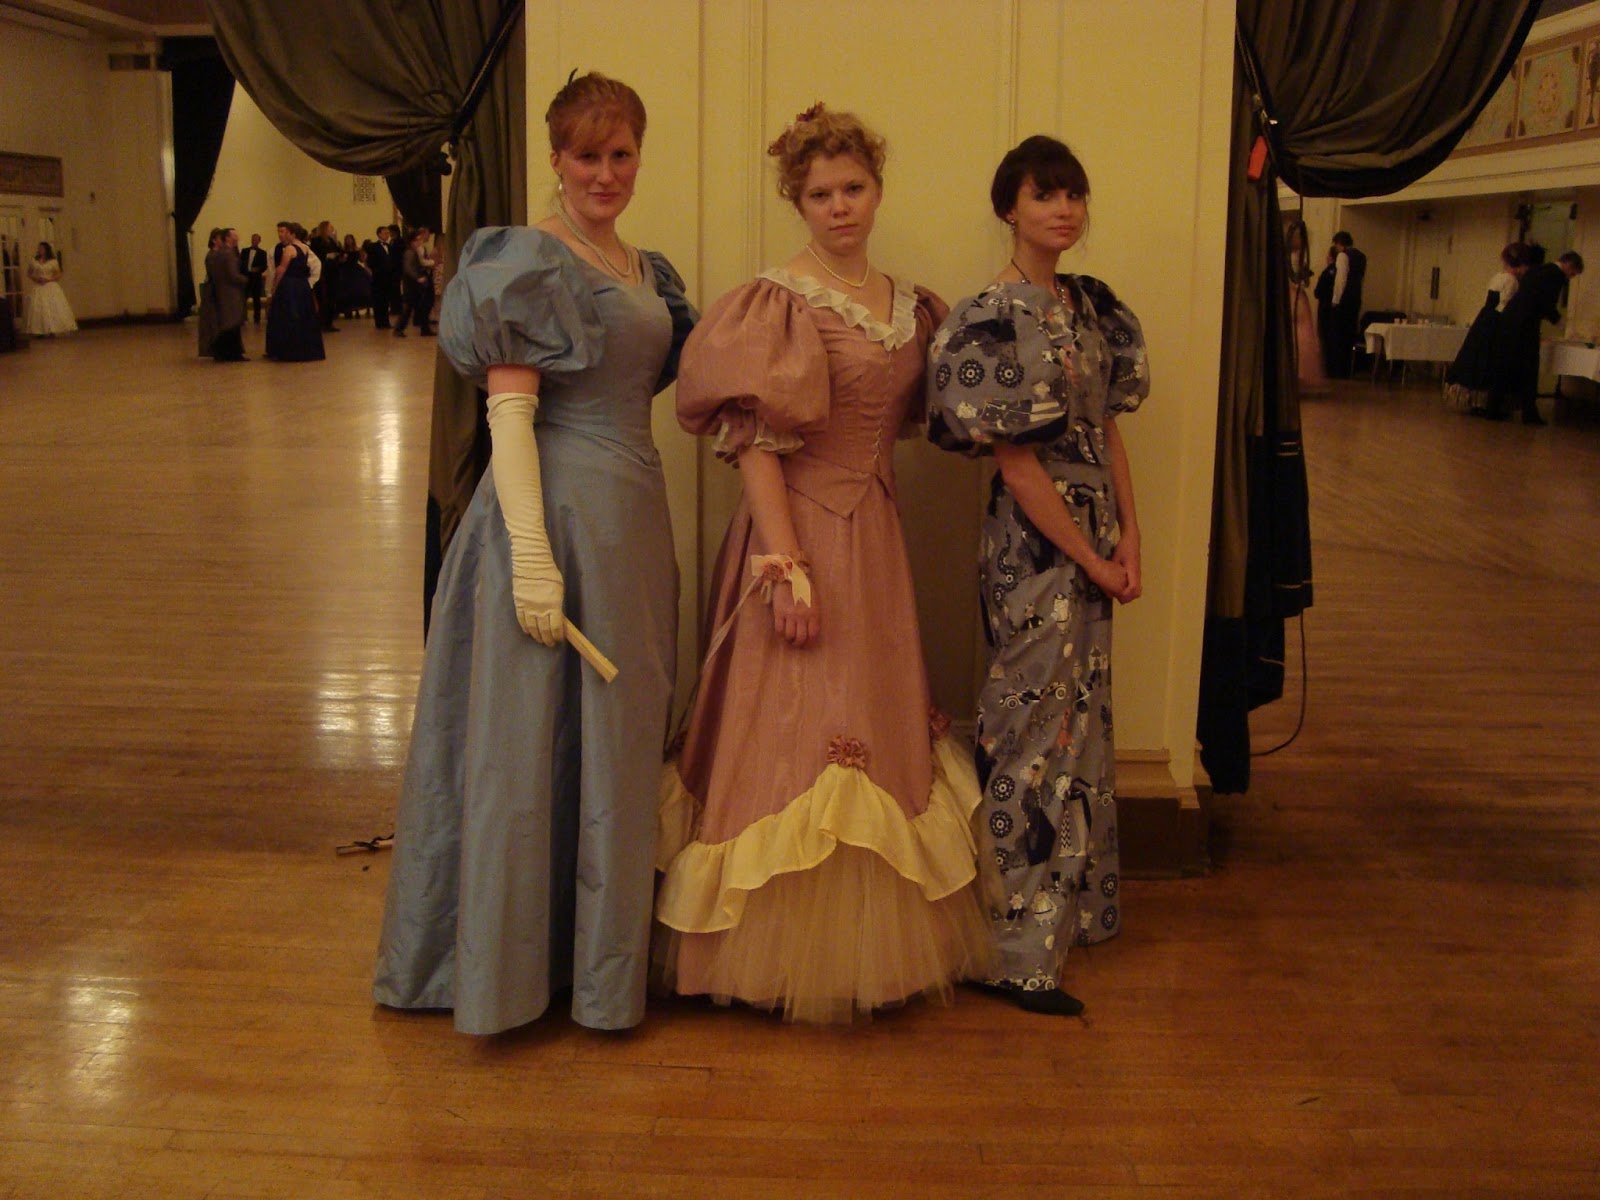
Three ladies who chose a slightly earlier silhouette: Jenny, Elizabeth, and Christine look fabulous with their floofy sleeves!

Vivien's trained dress was a show-stopper.

I love the silhouette from behind! (Read more about it on her blog.)

This was my favorite moment of the night: Jenny and Gregory recreated a charming drawing by Charles Dana Gibson.

Tells quite a story, doesn't it?


Another great victory of the night was my hairdo. After several rounds of trial-and-error, I figured out how to wrangle my fine, wispy hair into some semblance of a Gibson pouf. It took a lot of teasing, quite a pile of pins, and more than a few rats, but the results were better than I expected. 

The completed hairdo before the ball...

...and the tangled, messy aftermath! 


Here's a bonus: the decision to cover the dress in all those pink roses meant that this could become my entry for the next challenge in the Historical Sew Fortnightly! Here are the details:


The Challenge: #9 — Flora and Fauna (This is certainly the most floral dress I've ever made — 37 blooms from top to bottom!)

Fabric: Blue-green silk taffeta for the dress; pink chiffon, rosy pink silk taffeta, and black rayon velvet for trim; and pink acetate taffeta for the lining

Pattern: 1898 bodice from Period Costume for Stage and Screen as the base for my bodice, everything else was draped on the dressform

Year: ca. 1900

Notions: tarlatan for the hem, seam binding to finish the bodice inside, steel boning, petersham for waist stay, hooks and eyes, snaps, purchased beaded trim

How historically accurate is it? Fairly. It was inspired by period dresses in museum collections as well as period fashion illustrations. My techniques were based on period examples and period dressmaking manuals. My materials were pretty good (I used acetate taffeta for the lining where it should have been silk, and my velvet was a rayon blend). I used a purchased beaded trim instead of lavishly embroidering the dress as Worth would have done, because I am not crazy. Even with a few shortcuts, the majority of the sewing was done by hand, as it would have been done in the period. I would say 8 of 10. 

Hours to complete: I didn't keep track but my best guess would be upwards of 40.

First worn: to the Gaskell Ball on April 27, 2013

Total cost: I didn't keep track of this either, but my guess would be about $250. I overbought on most of my fabrics, meaning I have lots of leftovers that will be used for future projects. 


I'm very happy with how this dress turned out, but I'm even happier to be finished with it. Now I can move on to my next project, which will be something completely different... Details to follow!

Bodice Drapery

Time for some much-delayed updates on the Gibson Dress. For those of you who don't know, I finished it and wore it last weekend. It turned out just the way I wanted it, and it was very fun to wear.

Before I show you the finished pictures though, let's talk a little bit about the bodice. Last time I wrote about the bodice, I had completed the lining/base:


From this point, everything was draped on the dressform and sewn in place by hand.

I started by draping my blue silk on the bodice base to determine its final placement. I marked the outline of the area it would cover, tracing the area that would be exposed at the neckline, then removed the fabric from the bodice base. I then carefully filled in the neckline area with bias pieces of pink chiffon, pleating it gently and tacking it into place.

Here's a photo of what the bodice neckline looked like after this step:


I repeated the same process for the bodice back:


Next, I sewed bias-cut strips of black velvet onto the straps, pleating them slightly to add texture over the shoulder.

Here's a photo of what they ended up looking like in the back (the picture I took from the front turned out very blurry):


From here, I was so absorbed in what I was doing that I forgot to take step-by-step progress photos. Sorry!!

I pressed all the blue silk bodice pieces, then draped them into the bodice base starting with the back. I smoothed the back piece over the base while it was on the dress form, pinning it carefully around the edges. I then basted it in place at the side seams and wrapped the bottom edge inside the bodice base, basting it in place as well. I left the top edge pinned until I attached the beaded trimming, then sewed the trim down through all the bodice layers. Here is how the back turned out:


I repeated a similar process for the left side of the bodice, except that I folded the edge under at the side seam, and slip-stitched it down over the basting stitches on the bodice back. I turned the center front edge under and whip-stitched it to the front edge of the bodice base, then turned in the bottom edge, basting it inside the bodice base.

The right front was draped in a similar fashion, but instead of attaching it at center front, I left it loose to continue across the body. I pleated this drapery so that it would fall in gentle folds across the lower bodice area, ending at the left side seam. I finished the bottom edge of this drapery piece by interlining it with a bias strip of tarlatan, folding up the bottom edge of the silk, and catch-stitching it to the tarlatan. I folded under the end of the drapery and stitched it neatly in place. It closes at the side seam with hooks and thread bars.

Once all the drapery was in place, I sewed a band of my beaded trimming along the top edge of the right side drape, from the top corner just underneath the velvet strap, all the way to the left side seam.

At this point I started adding some of the roses I made out of my dusty pink silk to the left shoulder area. Here's the front at this point:


Lastly, I added some little drapey pieces of the pink chiffon to the shoulders, then put on a few more roses for good measure. 

The completed bodice:


Next up, the skirt trimming and the finished dress!!